Showing posts with label $2 Shop. Show all posts

Friday, 23 December 2016

Super Hero Lair - the beginning.

The other week I took my six year old nephew to school and stayed for a while so he could show me all his artwork and writing on the walls and wires.  His letter to Santa caught my eye.  Naturally he wanted an iPhone and charger and more Lego, but he also wanted a house for a superhero.  I think that came about because of his sister getting a dollhouse.


So I started putting my thinking cap on.  How could I do this for him....


I went to The Warehouse and looked at bookcases.  I decided the best one to get was one that normally had three spaces in it.  At $15 for one of these bookcases I would be a fool not to use them.  However, an action figure like the ones my nephew has would be too tall for the space.  So my brother helped my drill holes at the half-way mark and we put the shelf together with two bigger spaces.


I accidentally put the back on the wrong way round.  But that actually worked to my advantage.  I wanted to paper the back wall in a different colour to mitigate the blackness of the shelf itself and the paper would glue better to the wood side of the back panel, with a bit of a rub with some sandpaper first, rather than the shiny black laminate.


I went through my scrapbooking paper and this was the one piece I felt I c ould use with a superhero.  I had two pages of it.


I used the shelf that we didn't put into the bookcase as the guide for how wide I needed to trim the paper.  The paper was not tall enough, so I had to use part of the second paper to finished the first wall.  I did not have enough paper to complete the back wall in the lower section.


I decided to decorate the walls left and right with maps and pictures of superheroes.  So I cruised through the net and found these pictures, printed them out, cut them out and glued them on.


The next step would be to finished the back wall of the lower section, do the floors and make some furniture.  That would be another blog post.

Finishing the Dollhouse

Earlier in December I finally finished the dollhouse for my niece.  She had been so patient waiting for it, but I wanted it to be just right.  This is the first chance I have had to blog it due to laptop issues.

There were a few things I thought needed adding since the previous post, so I went $2 shopping again.


In the picture above I was missing two small diamonds near the front between the snow flakes. I got that sorted.


I think this wall as the right degree of randomness.  The blue sparkle pick up the opposit wall and the pink/purple/diamond sparkles match the pale purple of this wall.  Most of these were stick on sparkles, but some fell off after a few days so I super glued them on.


Here is an example of a sparkle falling off... I did replace it though.


I really liked being able to use these flower type shapes finally.


I decided this wall needed a butterfly to finish it off.


Again I went for random pinks and purple sparkles on this paper.  To do too much would be over powering.


 This wall really needed some butterflies to also balance it.


I felt with the paper I used here being so busy, bright and colourful, that I would go for the framed picture look.  I saved the frames from the internet last year for class photos.  I resize the frames to suit what I want and then stick another picture over them an manourvre the sizing, group, lock and then I can resize.  I decided to go inspirational and hearts for these pictures I printed out.


I wanted to use felt for the flooring... but it was the wrong size and too expensive.  So I went to Spotlight and got some brown scrapbooking paper card and cut and glued to the floor.  It looks tidy and it doesn't takeaway from the colours on the walls.


As you can see I fixed the missing diamante.  Below are the photos of the finished product.


On the first Saturday of December, while my nephew and niece were at swimming, I "broke into" my brother's house and set up the dollhouse with the furniture in my niece's room.


When she came home I whispered into her ear to go and have a look in her room.  She was pretty stoked!  Not everything I bought for the dollhouse fits in the dollhouse, so I also got her a blue box to store things in when she isn't playing with them.


However, what four year old is that tidy?

Saturday, 19 November 2016

Interior decorating time

I've been busy finishing assignments and then working, so I haven't yet completed the doll house for my niece.  But today I got my creative on and decided to get the interior decorating moved along.

Yesterday I did some paint touch ups... and this is another reason I have been not progressing... the need to be as perfect as possible.  Today I was satisfied the paint was dry and good enough for me to get on with wallpapering the walls using scrapbooking paper.

As a teacher, I am a bit of a collector of interesting paper for displays and mounting pictures and stories and I find scrapbooking paper fabulous for creating a bit of drama in the class displays.  And consequently I thought it would be suitable for wallpapering the doll house.

I had some gorgeous embossed shiny dark blue scrapbooking paper that I thought was very luxurious looking.  I had to cut it to shape as the top of the hous on the inside goes with the roof line, so there was some tricky manouvering to get the shape and cut good enough.


Because the paper wasn't quite tall enough, I needed to fill the gaps at the top with the offcuts before gluing on the main paper.


I used craft glue, which looks like it is just PVA to me.  I think I was a bit hit and miss with getting the right coverage of glue initially on the back.  I realised when I got the second wall done that a sponge would help move out the air bubbles behind the paper and get the glue to go to the edges.  It helps with the final finish.  I think if I did this again though I may try this with a paste glue rather than a PVA glue... it may improve the finish further.


As you can see above, the shiny paper is not very forgiving.

Due to the darkness of the blue paper I decided to paper the outter wall of each upstairs room with the blue shiny paper, and then use a light purple flower embossed paper with a different texture for the two interior walls.  I thought the light purple would lighten the interior of these rooms and harmonise with the lilac paint on the exterior.


 For the downstairs of the house I decided to go with a bright floral look.  The paper with the big flowers was to go on both the outter walls of each room, with a contrasting inner wall paper being the two other papers.  Well that was the intention....


I needed to trim the paper to fit the space.  So I used a ruler and measured the height of each wall downstairs... they were all the same: 25.4cm high.  The width of the room was pretty much the width of the paper.  So on the dull side I measured what needed to be cut off and trimmed it off ready for gluing.


I did this very well for the first two pieces in the room on the right....


But it went to custard on the second room.  My brain was full of the Kaikoura earthquake from earlier this week and the plight of the stranded paua exposed on dry rock in the hot sun after the seabed was raised 2 metres as a result of the earthquake... and I measured and cut the pieces for the other room to 24.4cm!!  The gap was just too much!  I had to choose alternative papers!


Luckily I still had another page just like the one on the inner wall, so I cut that right and put it on the wall backing onto it.  I weighed up three other options, and settled on the stripey paper as a contrast to the floral throughout the rest of the rooms, rather than the two very bold patterns you can see above.


I had intended to have the stripes vertical... but again my brain was on earthquakes and paua and I cut it along the horizontal!  So the left outter wall has horizontal stripes!

With the wallpapering completed, I decided some bling was needed. 

Quite often, with scrapbooking paper, comes some little blingy bits.  I had also purchased some mirror pieces and some other shiny bling.


With the upstairs room on the right, I decided to put up an icicle frieze as my niece is a bit of a Frozen addict and accent it with some glass dimantes underneath.  I also put a light blue dimante in opposite corners of three square mirrored pieced and hot glued these to the back wall.  With the upstairs room on the left I used the flowers from the scrapbooking kit and some sparkly cutouts to create a random piece of floral wall art.  I think it breaks up the darkness of the wall in each room.  You can see the craft glue was yet to dry when I took the photo.


In the downstairs room on the right I used several of the flowers from the scrapbooking kit to make one piece of art to break up the pinkness of the wall.


I found in my bits and pieces some offcuts of flowers I had kept from another project (which slips my mind) that echoed the outter wall in the room on the right.  So I decided to use the flower offcuts to break up the stripiness of the room and add some drama.

I'm feeling pretty happy about the effect of the decorating... but I still feel it's not quite right.  But rather than getting carried away and over doing it, I've decided to stop for the day, step back and reflect... and give myself time to go $2 Shop shopping again!!

Monday, 31 October 2016

The "In A Hurray to Make" Doll

I've had to take a bit of a break on the renovation of the dolls house for my niece due to study and work commitments, so it is still waiting for the next step.  But my niece and nephew came to stay at the weekend and they wanted to play with it.  As you can see below I have also bought more Barbie furniture... sadly it doesn't all fit in the house!

There was one problem when it came to playing with the dolls house and all the furniture: no dolls!


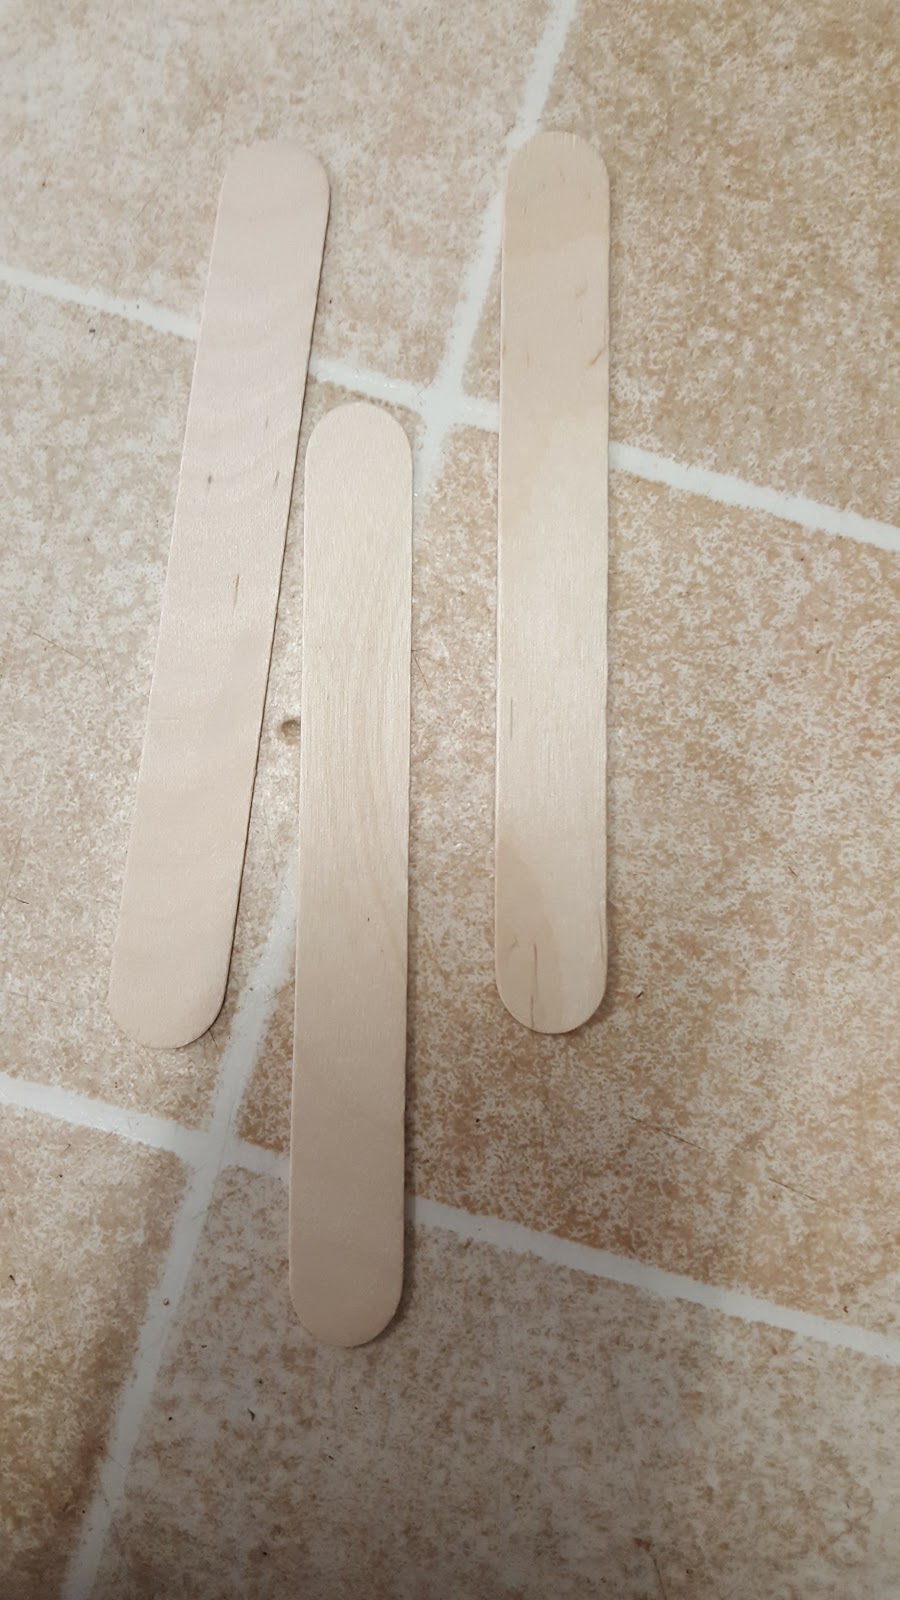
This required some quick thinking.  So I dug through all that craft stuff I had purchased at the $2 shops and started getting creative.  The base of this creativity was the fat ice block sticks.


I glued them together, as you can see below, with the hot glue gun to make the body.


I had bought, brand new from The Warehouse, some Barbie bathroom accessories, and I had kept the box 'just in case' and this weekend the need for 'just in case' arose.  So I cut out the Barbie heads on the box to use on the make-shift dolls.


I then used wooden pegs as legs and hot glued them on.


With each doll I made I took a different tack to the dressing of the doll and attaching arms.  Here you can see I wrapped the material around the body before attaching the arms.  I hot glued the material on too.


I used wooden pegs, hot glued on, for arms on two of the dolls.  As you can see below, I had to use smaller ice block sticks for the arms on the third doll.  I put sleeves on this doll after the arms were glued on.


I finished off each dolls with a different coloured and shaped diamante.  They are all wearing the same material because I was plain lazy in wanting to find other material for dresses.

 
My niece (4 years old) and nephew (6 years old) really enjoyed the process of making the dolls.  Even though I made them, they had input into how they were made by making suggestions and discussing with me how to solve problems. 
 
They enjoyed playing with them.  My niece's imaginative play is progressing and so is her bossiness in telling us how to play the game.  Her one disappointment was that the dolls arms and legs do not bend.  I had to explain that this wood was not bending.