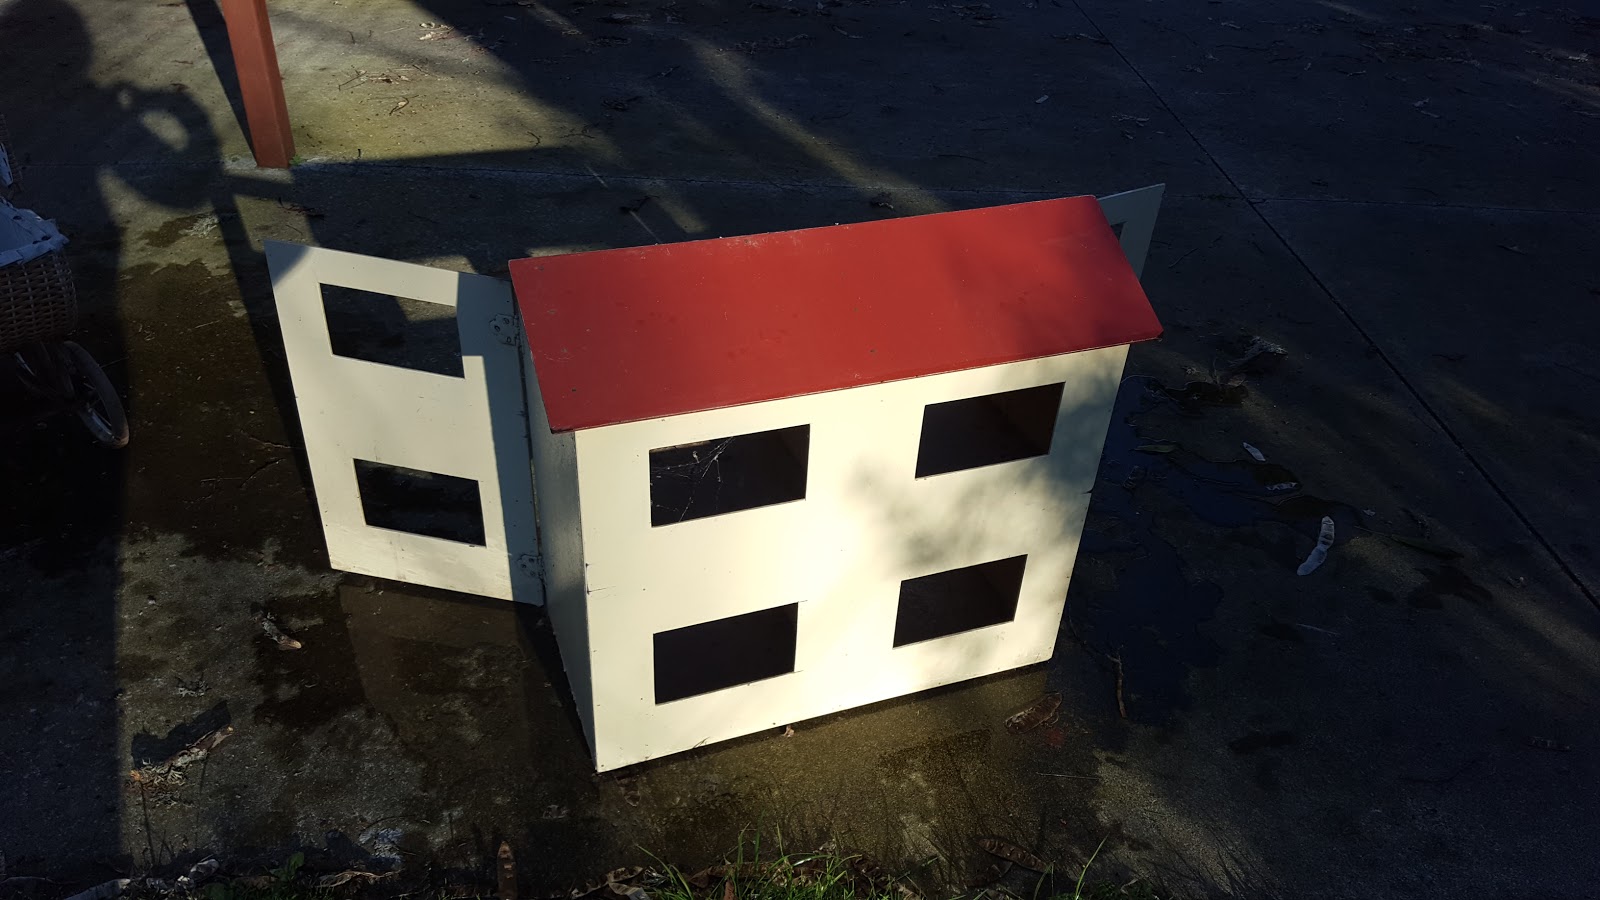
Monday, 31 October 2016

The "In A Hurray to Make" Doll

I've had to take a bit of a break on the renovation of the dolls house for my niece due to study and work commitments, so it is still waiting for the next step.  But my niece and nephew came to stay at the weekend and they wanted to play with it.  As you can see below I have also bought more Barbie furniture... sadly it doesn't all fit in the house!

There was one problem when it came to playing with the dolls house and all the furniture: no dolls!


This required some quick thinking.  So I dug through all that craft stuff I had purchased at the $2 shops and started getting creative.  The base of this creativity was the fat ice block sticks.
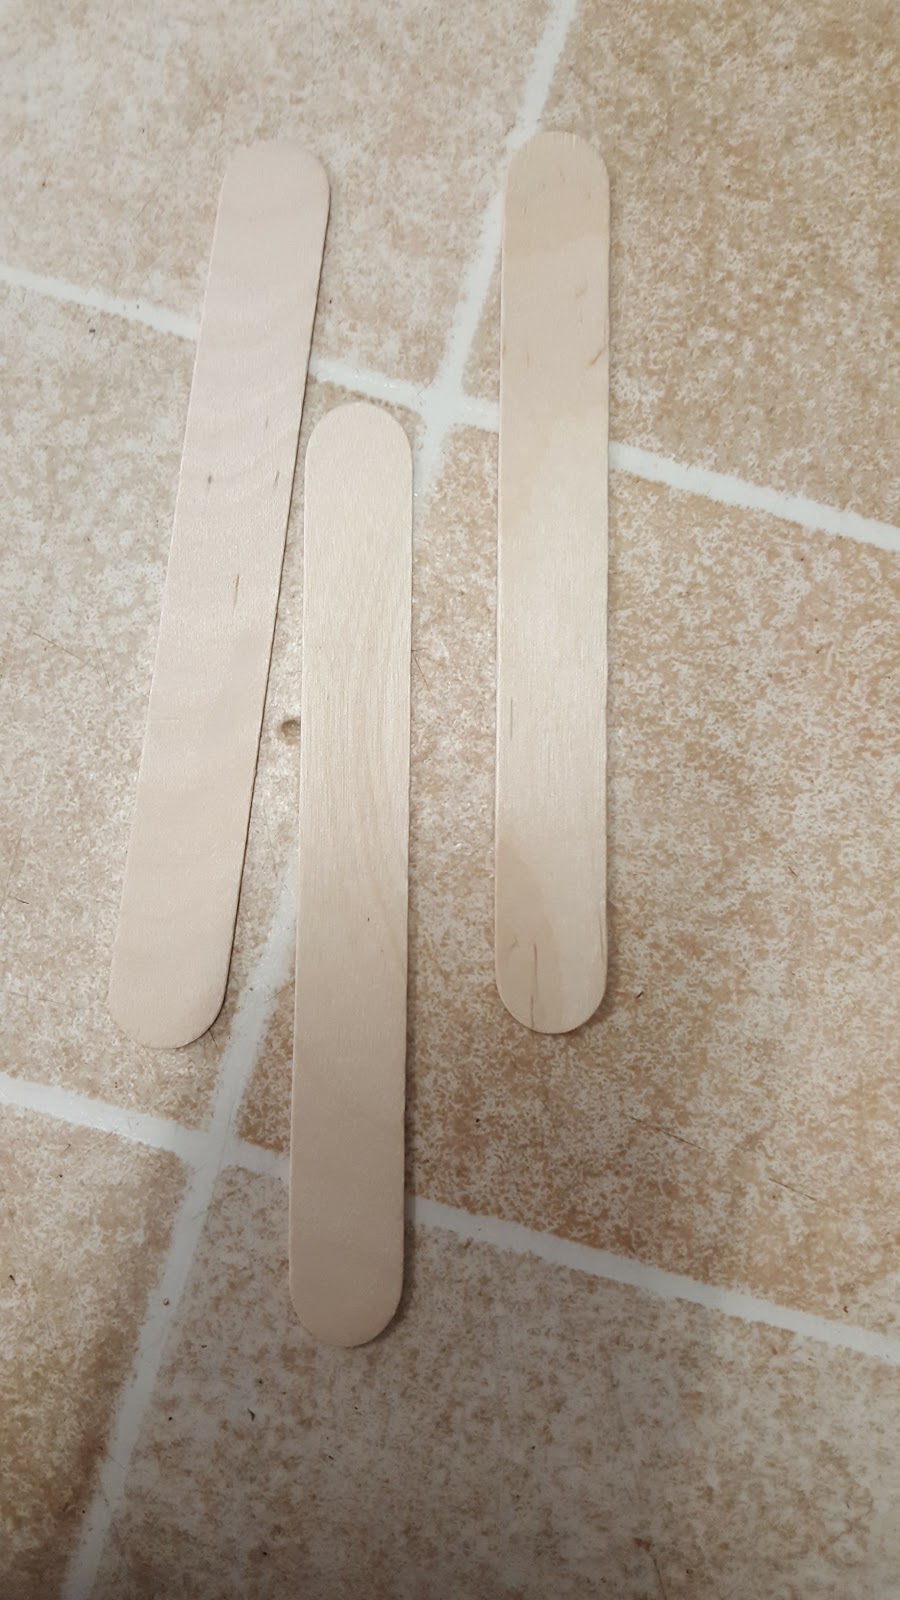

I glued them together, as you can see below, with the hot glue gun to make the body.


I had bought, brand new from The Warehouse, some Barbie bathroom accessories, and I had kept the box 'just in case' and this weekend the need for 'just in case' arose.  So I cut out the Barbie heads on the box to use on the make-shift dolls.


I then used wooden pegs as legs and hot glued them on.


With each doll I made I took a different tack to the dressing of the doll and attaching arms.  Here you can see I wrapped the material around the body before attaching the arms.  I hot glued the material on too.


I used wooden pegs, hot glued on, for arms on two of the dolls.  As you can see below, I had to use smaller ice block sticks for the arms on the third doll.  I put sleeves on this doll after the arms were glued on.


I finished off each dolls with a different coloured and shaped diamante.  They are all wearing the same material because I was plain lazy in wanting to find other material for dresses.

 
My niece (4 years old) and nephew (6 years old) really enjoyed the process of making the dolls.  Even though I made them, they had input into how they were made by making suggestions and discussing with me how to solve problems. 
 
They enjoyed playing with them.  My niece's imaginative play is progressing and so is her bossiness in telling us how to play the game.  Her one disappointment was that the dolls arms and legs do not bend.  I had to explain that this wood was not bending.

Sunday, 28 August 2016

Challenges in renovating a dollhouse.

As I have gone through this project I have encountered some challenges.  One being painting.

I got the blue paint on the ceiling in the interior of the house, necessitating the need to repaint the ceiling.  In the process of repainting the ceiling I get white paint on the blue walls... I can see this playing out like "this is the song that never ends, it just goes on and on my friends... some people started singing it not knowing what it was and they'll continue singing it forever just because... this is the song that never ends..."

Top right hand by the wardrobe.

So much white paint not where it should be!!

So either I am going to have to get a steadier hand or a smaller brush or resort to masking tape, because my cutting in is pretty crappy.

I also thought I would upstyle this table/cradle or whatever it is I got at the Op Shop.  It just doesn't look quite right.


So I decided to paint it white.  This is the first coat.  Taking bets on how many coats it will need.  And considering I need to hold it as I paint it, not all parts of it have had paint on it yet.


Another challenge has been making living room furniture.  This is what I was trying to emulate:


These photos illustrate me trying to make it, quite badly:


When my niece saw it she thought it was pretty cool... but she is four.  I will be having another go.  I'm still trying to figure out how to put the material/upholstery on the couch.


Saturday, 20 August 2016

Painting the Dollhouse.

I can't say I've really ever painted much before... apart from art projects like let's paint a picture of camp or our holidays.  So today I got the crash course in painting the dolls house.  I already knew how to open the can and stir it (thanks to many years of watching The Block and Mitre 10 Dream Home), but the art of the brush is slightly different to the class.

This is how it progressed....


So obviously, this is how it looked after the sandpaper job yesterday.


I started by painting the roof Sky Blue and then thought I would paint the interior back wall the same colour.  I won't be painting the other interior walls as they are chipboard and would require a sealant coat first and I have other ideas for those walls.


The exterior I am painting Lilac Pink which is more of a purple pink than a pink pink because I don't like pink.  Besides with all the Barbie accessories something had to give.


So that is how it looked after the first coat.  I was pleasantly surprised to find the previous red roof paint barely showed through.  But I'm not green enough to know that a second and third coat of paint wasn't needed.  The doll house spent a good three or so hours out drying in the sun by the time I finished both colours, then we moved it indoors so I could get a second coat on before dinner.


I have to say, the second time round, I was a little more generous with the paint on the brush than the first time round.  So I may have to do a touch of sanding tomorrow morning before applying a third coat of paint.

All up though, I am pretty pleased with the appearance of the doll house so far.  It looks updated with just a new colour applied.  Wait until I get really started on the interiors!


Getting ready to paint the Dollhouse.

The old Dollhouse is looking a bit dated.  So I decided it needed freshening up with a new coat of paint... and colours that were a bit more girly.  I'm personally not a fan of pink, and since pretty much every Barbie item is pink, I wanted to avoid painting the house pink.

So off I went to Mitre 10 Mega where a lovely lady talked me through paint options and set me up with some sandpaper too.

And this is the house after a touch of sandpapering and a rubdown with a cloth.


The colours I choose were Sky Blue and Lilac Pink from the Small Job range at Mitre 10 Mega.  I choose these colours because they were girly but not pink, they will tone down the pink of Barbie accessories, I like these colours, they won't dominate Bella's room and will tone in with other colours in her room.  These photos show the paint before and after stirring.


Isn't it amazing what a good stir does to change the colour from first opening the lid up!

And then I started the painting.  But that is for my next post.  :-)

Monday, 15 August 2016

The Collection Phase of the Dollhouse Renovation.

Before I embark on a project, the teacher in me kicks in and I like to fill my head up with ideas.  Thankfully, so my head doesn't overflow, we have Pinterest!  So I have been collecting a lot of ideas and storing them here:  Doll Houses.

I also went on Trade Me, because I do not have time to make everything and I want robust items as my niece can be a bit destructive, to see what was available in my "budget" budget... but you know I am going to spend more than I should.  However I have managed to get these items below.


Initially I thought I would break the fold out Barbie house down so I could use the items in my house... but I soon figured out that would end up a massive lot of broken bits.  So I will probably keep the fold out Barbie house for her to play with at Nana and Poppa's house.

I still have another trade to pick up.

Then I went Op Shopping and found this:


I figured it was probably a baby doll cot... I'm going to change it up a wee bit (don't quite know how yet) to a coffee table.

I also went to the $2 shops and got these resources.  Wait and see what I will turn them into!


I wonder if you can figure out what I intend to make with these items....

And I went to The Warehouse and had a cruise in the Barbie aisle of the toy section.  The thought of making a realistic toilet was leaving me cold, and so I managed to pick up this wee set at a price I was happy to part with.


I also raided my teacher art stuff and came home with these to update the décor of the dollhouse.


I am trying to recruit an aunty and her partner from the other side of the whanau to also help me out with making some items.

It has to be finished this coming Saturday, 20 August, the day of her fourth birthday, so I can install it while she is at her swimming lesson!  Fingers crossed!

Monday, 8 August 2016

Dollhouse Renovation Begins!!

This is my old dollhouse from when I was a child.  I have had it since I was 5 or 6.  Before me, one of my older cousins had the joy of this dollhouse too.  But for the last ten or so years it has languished in the shed, exposed to dirt, bugs, rodents and shed cats.


As you can see it looks somewhat manky.

In two weekend's time my niece is turning four years old.  I have noticed that her imaginative play is quite imaginative, and so I think she is ready for my old dollhouse.  Her mother is in agreement.  My brother will probably baulk at the idea, but I can't see him actually making her one, so I have decided we will renovate my old one, because it is of solid construction.

So I have every intention of renovating this old dollhouse into a very modern dollhouse.

First step was cleaning it up.  So out came the sugar soap, bucket, warm water and a soft car brush (don't tell Dad).  And this is how it came up:


Definitely a lot cleaner.

So I have some cool ideas floating around in my head for décor and furniture and I have been collecting ideas from Pinterest.  Check out my Pinterest Dollhouse board here: Melulater Doll Houses.